

Monday, May 28, 2012
Saturday, May 26, 2012

Monday, May 21, 2012
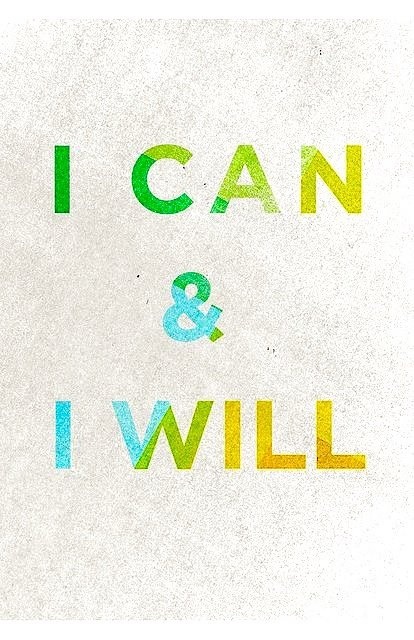
You never know how strong you are...

It says, You never know how strong you are, until being strong is your only choice.
I am strong. I will continue to be strong. It is indeed the only choice I have.

Saturday, May 19, 2012
Let's Help the Animals!

We've been having severe rain and thunderstorms in Puerto Rico for the past several days. Yesterday, a small creek went over and flooded a part of Guaynabo City.


The Humane Society of Guaynabo, Puerto Rico was severely damaged by the flood and 120 animals are now living in a basketball court near the shelter.
They need your help!

Even kids are volunteering to help save the animals!

This is how the facility looks like now...

They need your help! Urgently!
How can you help? With towels, old sheets, newspapers, cat food, kitty litter, dog food, collars, trash bags, food bowls, detergents, volunteers and people to adopt these animals.
To make a donation, visit
You can find more news here (Spanish):
Thank you in behalf of all the animals in the shelter!
Friday, May 18, 2012


Wednesday, May 16, 2012
Flower Pot Card Tutorial

I've never made a tutorial before, so I thought it was a
good idea to start with a simple card.
This card is a Flower Pot Card which is both easy and beautiful.
First, gather your supplies:
card stock, patterned paper, border punch, ribbon and flowers.

I used the blue cardstock for my flower pot base. Cut your piece of paper 5-1/4" x 8". Score at 4". This will allow for you to place your card in a 6" x 6" envelope with flowers and all.

I used the blue cardstock for my flower pot base. Cut your piece of paper 5-1/4" x 8". Score at 4". This will allow for you to place your card in a 6" x 6" envelope with flowers and all.

Next, we need to give our card the flower pot shape. Keeping the card closed right sides together,
mark 1/2" in from the edges along the fold.

Measure from the top of the "pot" to the 1/2"
mark and draw a line. This gives you the
line to cut along. This will give you
your tapered line creating your pot.

See why you need to draw the lines on the “inside” of the
card?
Here's what your "pot" card should look like:

Now, cut the patterned paper 1-1/2" x 5-3/4". This will become the rim of your pot.

Scallop the edge and glue your ribbon to the back of the rim
piece. Tie a bow on the front and glue
to the border of your "pot".
Make sure it is aligned correctly! (It's Ok if you have more on one side
than in the other. You can always trim it and make it equal. *wink wink*).

Now for the insert, I cut a piece of the patterned paper
3-1/2" x 5" and layered it with a piece of white cardstock cut at 3"
x 4-3/4". If you'd like, you could
distress it with ink or any other distressing method you use.

I then inserted the layered card into the pot to see how far
up to place the flowers. I used a pencil
to lightly mark it.

What you want is to cover the insert so you don't see it, but do it separate, so you don't glue it to
the pot. Otherwise, your insert will not
slide out.
I used hot glue to glue my flowers into place. I used pima (Petaloo) flowers, but you can
use diecuts, paper, or any type of flower you'd like, and as many as you'd
like.

Glue the sides of the pot over the edge. Once dry, slide your insert and presto! You
have just made a flower pot card!

If you like, you can use a rust, brown or terra-cotta
colored card stock and make the "pot" look real. Just have fun, and use your imagination to
change it up to fit any ocassion or season.
I hope you had fun creating this simple, yet beautiful
card. Thanks for stopping by my Little
Corner!
Subscribe to:
Posts (Atom)